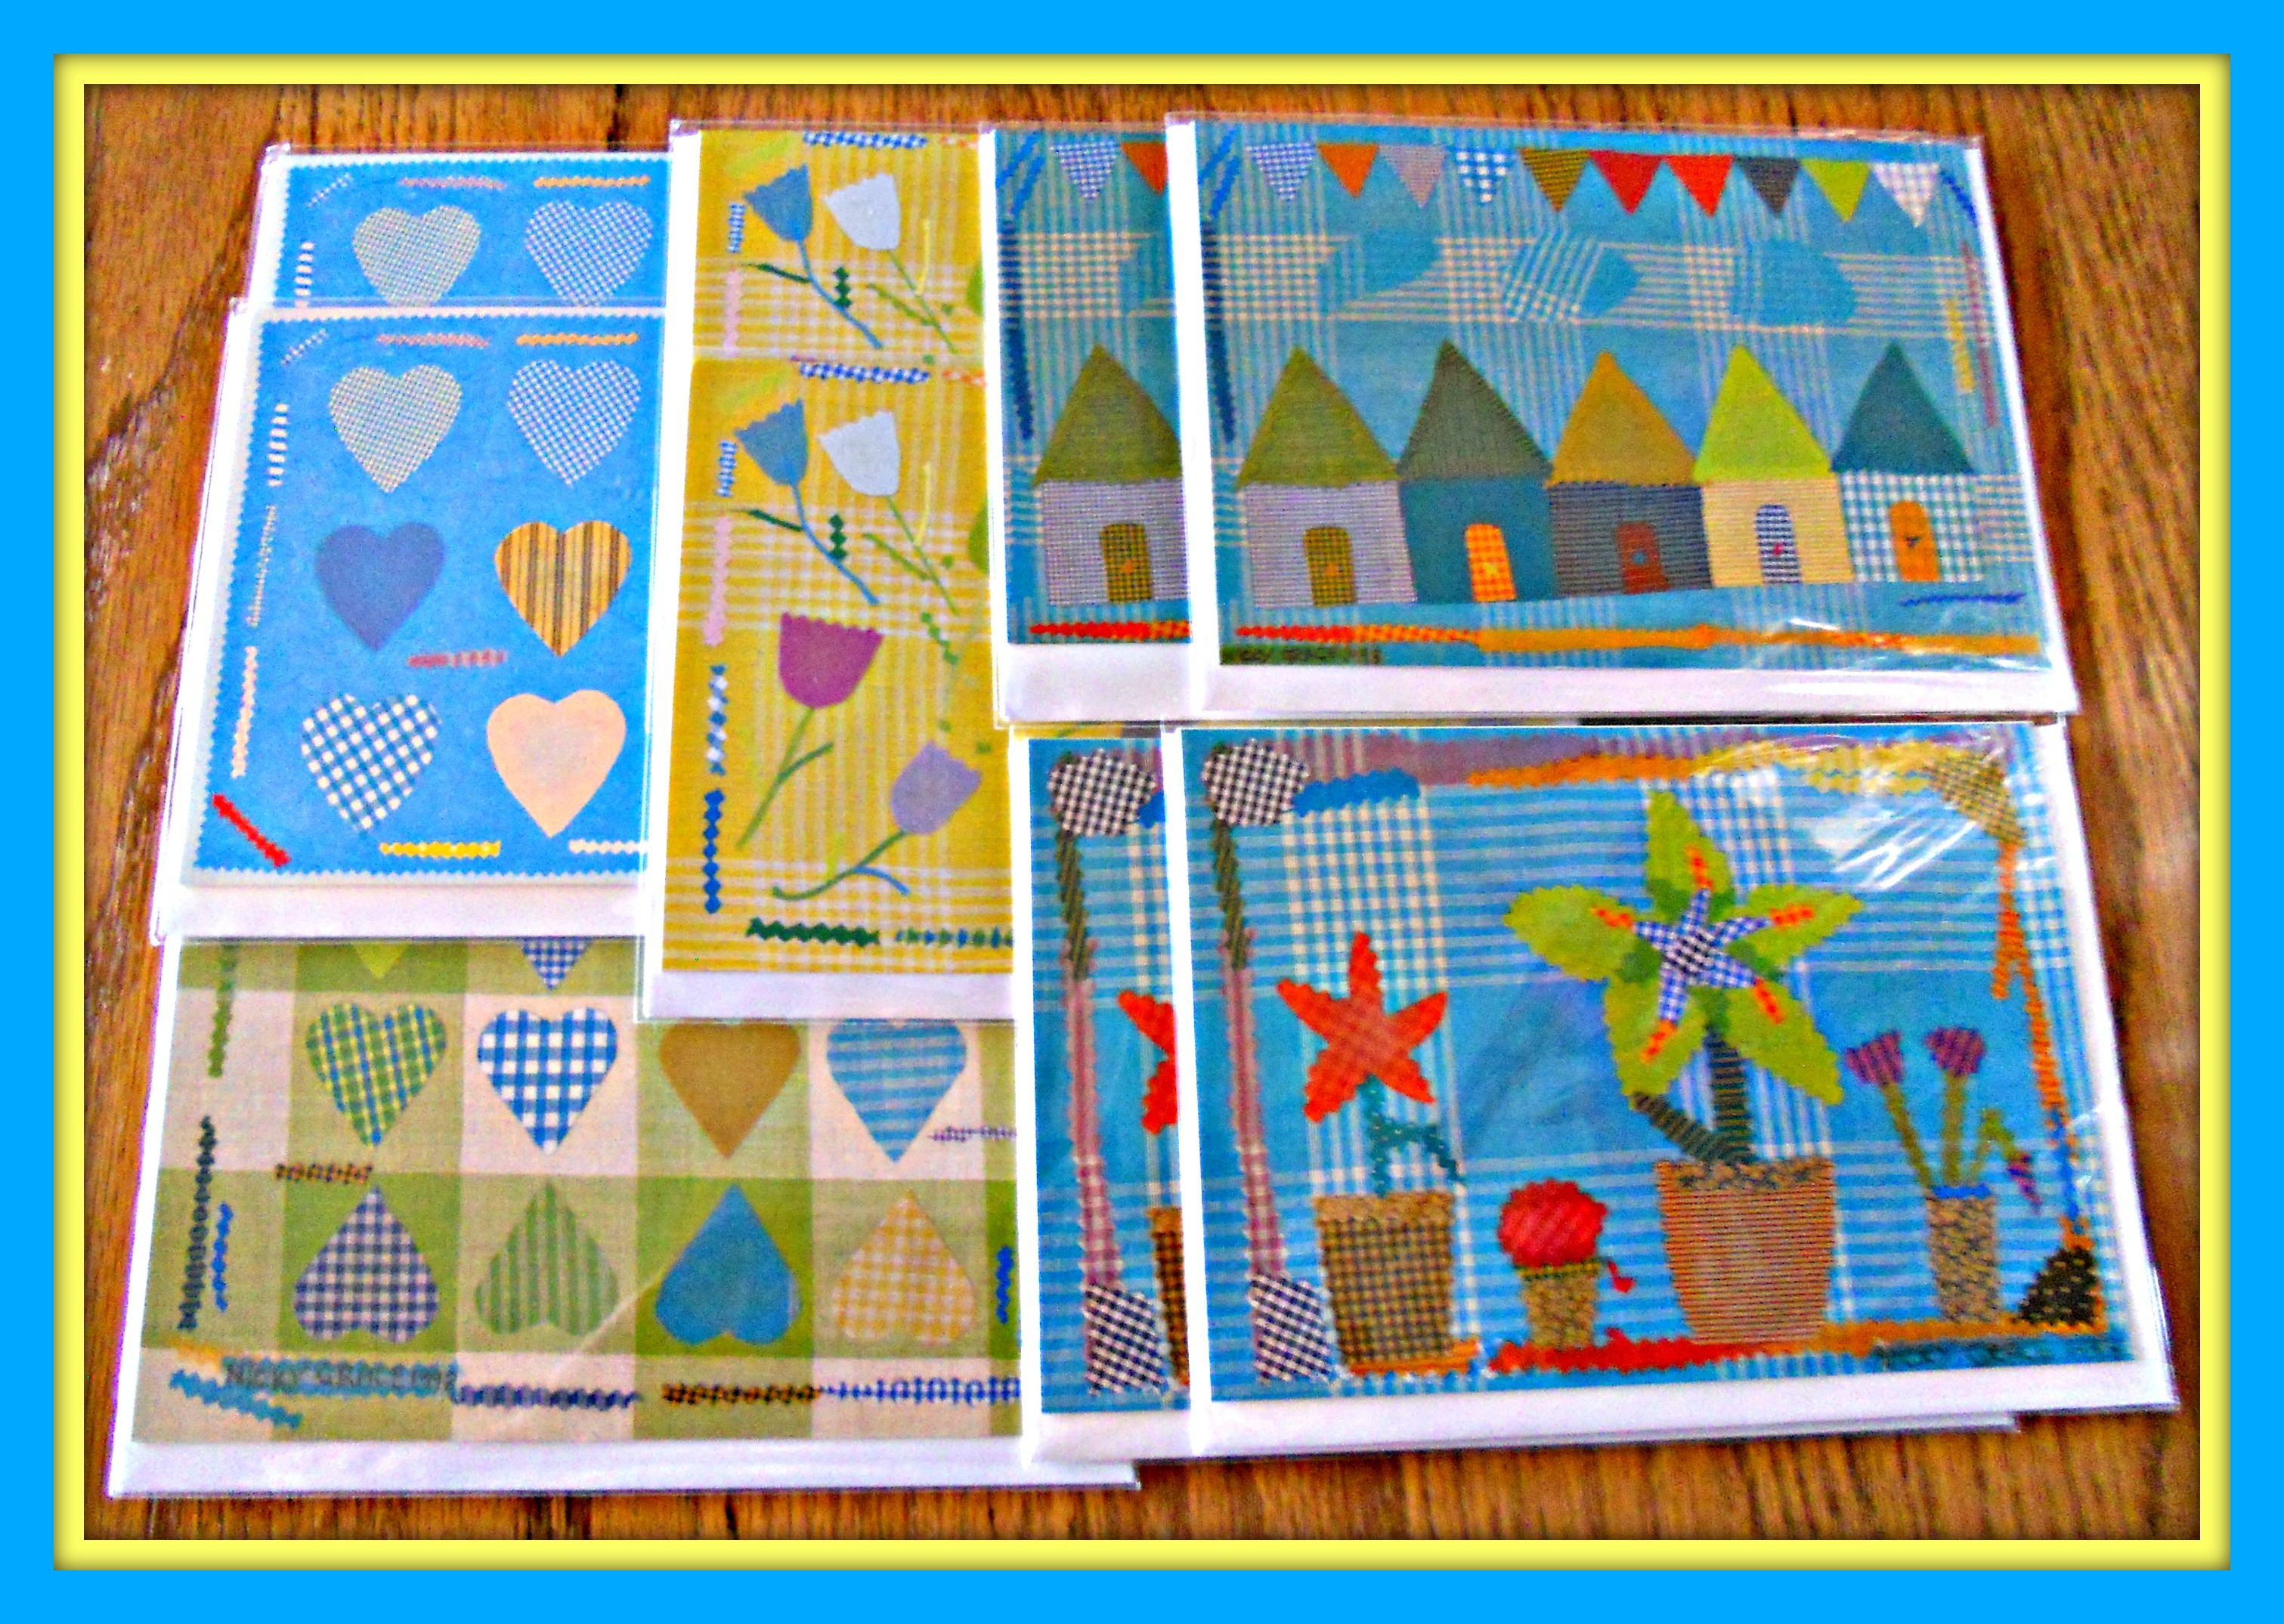
The next best thing to pretty fabric is pretty paper! Although I don’t scrapbook, I love to walk through that department at my favorite craft/sewing stores and couldn’t resist buying this beautiful collection when I saw it marked down from $19.99 to $9.99. (Click on photo for a larger view.) Of course, then I had to come up with a project for it, so here it is! Start by buying some mini composition notebooks. (Target has two-packs for 99 cents.) Then . . .
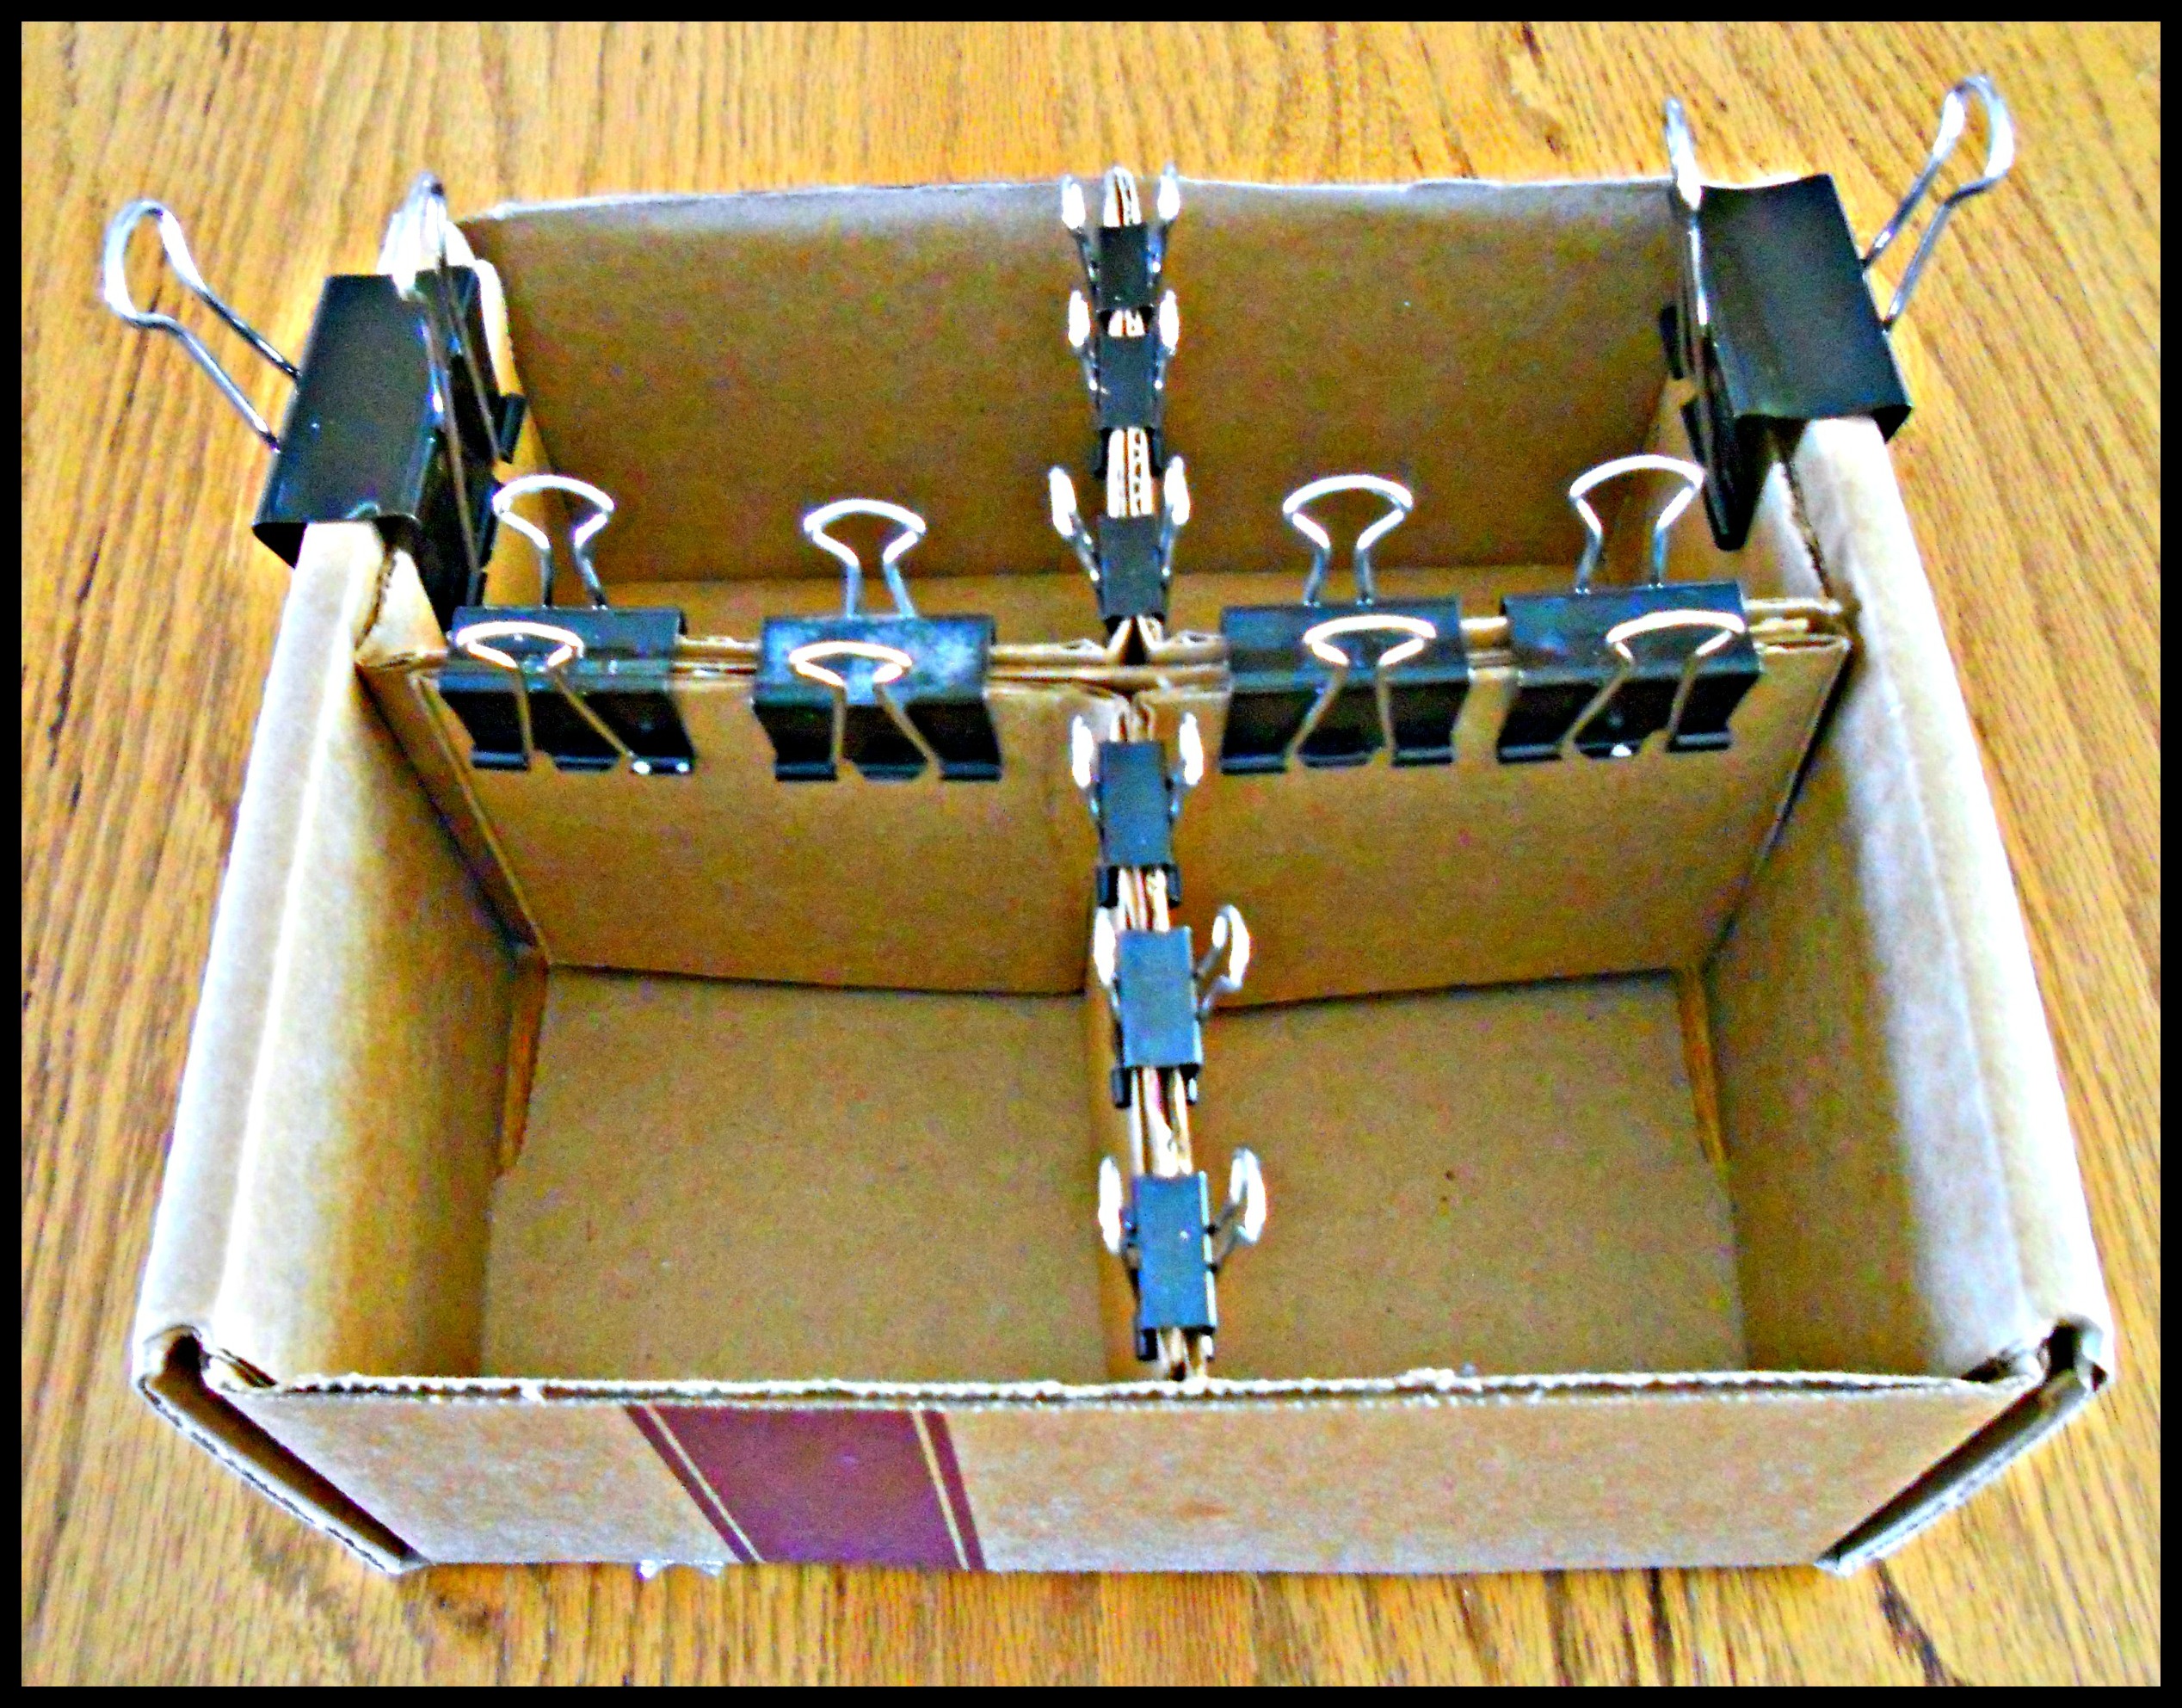
 (1) Use a notebook to make a pattern on a piece of cardboard. Leave a little extra on both sides to fold over the front and back notebook covers, and mark where all the folds should go.
 (2) Use the pattern to cut out the scrapbook paper and to draw the fold lines on the back.

Inside Front

Inside Back
(3) Fold on the lines the wrong way and then the right way, making firm creases. Then glue the cover onto the notebook starting with the spine, then the covers, then the flaps.
Following are three additional options you can use to “dress up” your notebook . . . choose one, two, or all three. For me, what I chose depended on the cover design. For example, one has cute little birds on it and a spine cover would have hidden one of them, and another has words on it so I didn’t want to cover them with a label.

 OPTION 1: BEFORE gluing on the cover, put a colored brad about ½ inch from the middle of the edge on both the front and back cover. Put a small coated ponytail rubber band around the back-cover brad and fasten the brad as tightly as possible. Leave the brad on the front cover a bit loose. Then, after you glue the cover onto the notebook, pull the rubber band from the back and loop it over the front brad.

Back

Front
 OPTION 2: Choose a contrasting or coordinating strip of paper for a spine cover, prepare the folds, and glue it onto the spine, holding it for a bit until the glue dries.
OPTION 3: Make a small name label out of another scrap. If you like, make “stitches” around the edges with a colored pen.
Your notebook is now ready to toss into your purse or give away . . . perfect for a small hostess or gal-pal gift. Or, turn it into an extra-special greeting card by writing a happy birthday/get well soon/congratulations/thinking of you message on the front page of the notebook for the recipient to discover and putting it in a colorful envelope. Now, what to make with the rest of this fun paper . . . ♥ UPDATE: Click here for MORE mini-notebook!


 Remember the beautiful
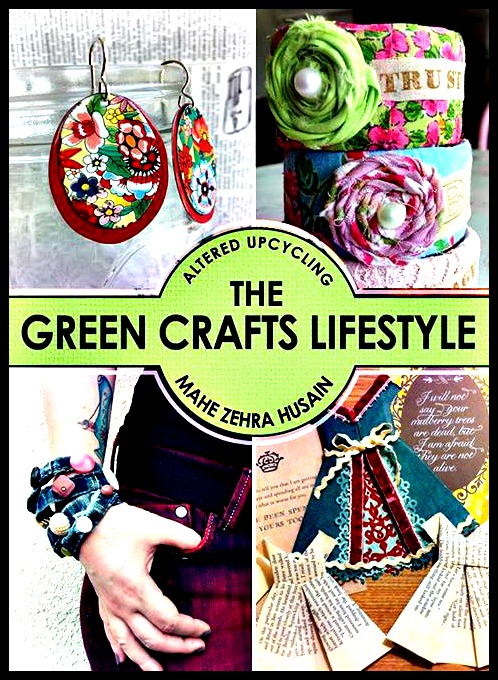
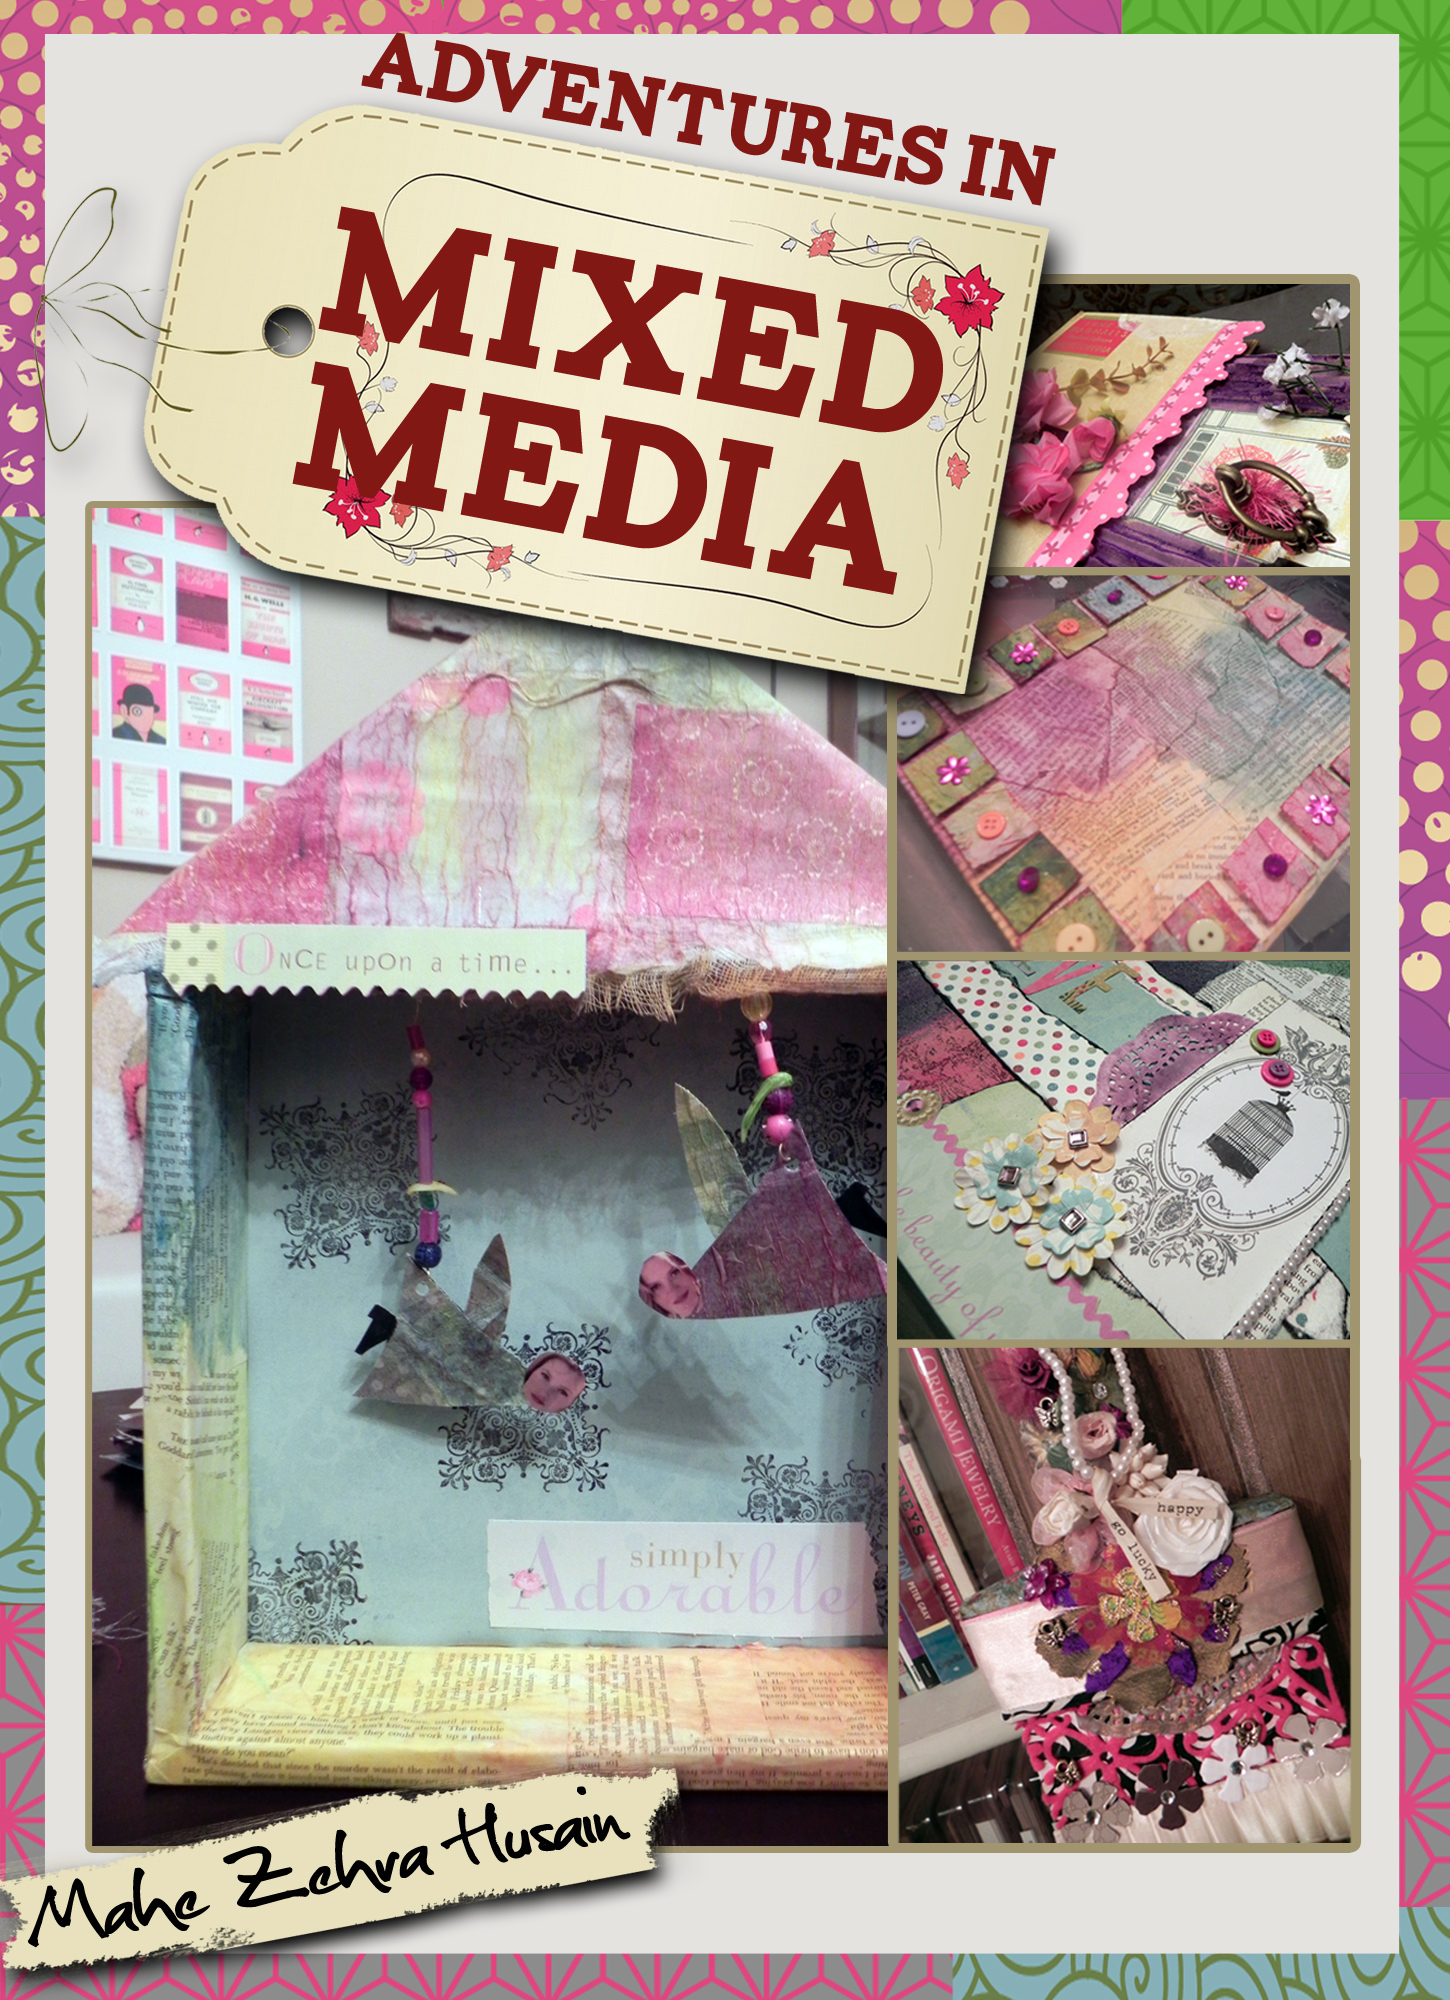
  Do your New Year’s resolutions include using more of what you already have in your crafting, gift-making, and home decor? Then you’ll want to meet Mahe at
 We had our “Walker Family Christmas” yesterday, and when my daughter-in-law Shannon walked in with this cute owl tin, little did I know that a surprise birthday party was inside! A few weeks ago, Shannon secretly emailed as many of my blogging friends as she could and invited them to join in a card shower for my birthday today, and W-O-W, was I ever showered! I stayed up until all hours last night reading and shedding some tears over the beautiful cards and sweet messages from all over the world. I can’t thank Shannon enough for this incredibly thoughtful gesture, and I can’t thank YOU enough for being my wonderful friends and encouragers. As this card that Shannon made for me says, “One kind word can warm three winter months.” New Year blessings to all of you, with love from Pillows A-La-Mode. ♥


 Last week I put out my first
  (2) Terri’s Notebook: I recently won a lovely giveaway from
  (3) A Kitschy Kitchen: I’m just starting to make aprons myself, but I know someone on my gift list who will LOVE this one! It’s from Megan of
  (4) TheHighNoteDotNet: I’ve followed Darilyn’s lovely blog