Category Archives: Parties

Easiest Party Garland Ever

Standard

Our granddaughter Ally asked to have her family birthday party at our house (happy face!), so I decided to make some colorful, festive, girly garland to offset the autumn décor. First, I put on a good movie and cut out a bazillion or so circles from my felt stash (using a peanut butter jar lid as a template). Then I arranged the circles in color patterns, moved to the sewing machine, and stitched them together down the middle with edges touching. Finally, I draped them around the room, ready to add table decorations, balloons, a cake, and gifts. She loved it! ♥

FeltGarland

FeltGarland2

Toy Car Wallet

Standard

1For Tyler-the-matchbox-car-lovin’-kid’s birthday, I stitched up a car wallet . . . plus (surprise! surprise!) a pillow with the leftover fabric. I read TONS of tutorials for the wallet and ended up using bits of several of them. My version has four pockets, a road, a Velcro closure, an elastic band (aka stretchy headband cut to size) to hold it all together, and the birthday boy’s initials embroidered on the front. Here are my favorite links in case you’d like to make one for a small person you love! ♥

3

Birthday Party!

Standard

It’s birthday party time again in our family! Five-year-old Tyler chose Disney Planes for the theme. I had fun searching out a yard of DP fabric (found it on ebay and got it in two days!) to use for bunting and then sewing a big pile of red goodie bags for Tyler to fill with treasures and send home with his friends. Now for some cake and ice cream! ♥

Bunting and Bags

Baked Ham and Cheese Sandwiches

Standard

I made these for our houseguests the day after Thanksgiving for a little change from turkey, and they were a hit! I was lucky to have my sister Susan’s yummy homemade crescent rolls to use, but my friend Janet uses Sister Schubert’s frozen rolls, and my daughter-in-law Tiffany uses sweet Hawaiian rolls, so you definitely have choices. Here’s the recipe for one dozen sandwiches:

  1. Slice each roll in half horizontally. On the bottom half, layer deli-sliced ham and swiss cheese. Replace top half. Arrange sandwiches in a baking dish.
  2. Melt 1 stick of butter, then stir in 3/4 tablespoon poppy seeds, 3/4 tablespoon mustard, 1 1/2 tablespoons Worcestershire sauce, and 1 teaspoon onion flakes.
  3. Pour sauce over rolls, and bake at 350 degrees for 25 minutes. Enjoy! ♥

Baked Ham and Cheese Sandwiches

Christmas Bunting

Standard

I’m going to take off the rest of November from blogging to finish a big writing assignment (for my “real” job!), host Thanksgiving dinner, and attend some family events. But first, here are my new strings of Christmas bunting! Last year I cut out bazillions of squares of Christmas fabric to make mini-pillow ornaments but didn’t use them all, so I turned the rest into triangles that I could stitch into seam binding. Simply turn under the ends and fasten them with buttons to create loops, and they’re ready to hang. Thank you for stopping by, and I’ll see you in December! ♥

Bunting Ends

Bunting

Sleepover!

Standard

Did you love sleepovers when you were a little girl? They were my favorite! Last weekend some fun girls in my family drove in for a “Crafty Cousins Slumber Party.”  We went out to eat, chatted, crafted, slept, ate breakfast casserole and cinnamon roll-ups, went to a big craft show (where my lovely daughter-in-law Shannon launched Shantilly!), and ended with lunch out with my dad. We made fabric flower brooches, Christmas cards (thanks Margo!) and earrings (thanks Karen!). If you heard laughter floating through the air Saturday night, now you know why. ♥

Treasures

Seven-Layer Cookie Bars

Standard

Cookie Bar

Believe it or not, I’d baked so many goodies before our family reunion weekend that one treat remained in the freezer after everyone was gone! So, I decided to take them to a baseball game tailgate party we attended Saturday afternoon with a bunch of our fun friends. To make them more finger-food friendly, I cut and rewrapped the bars individually in pinked parchment, tied them with baker’s twine, put them in a bowl, and returned them to the freezer until time to leave (since Kansas is HOT this time of year!). Then I added a little sign . . . and it worked! ♥

Seven-Layer Cookie Bars

Melt 1 stick of butter in a 9 x 13 inch pan. Then add the following layers:

  • 1 cup of graham cracker crumbs
  • 1 small package of sweetened, flaked coconut
  • 1 small package of chocolate chips
  • 1 small package of butterscotch chips
  • 1 can of sweetened condensed milk
  • 1 cup of chopped nuts

Bake at 350 degrees for 25-30 minutes. Cool and cut into bars.

Bowl

One Last Wonder Woman Retro Apron . . .

Standard

I had just enough fabric left to make one last Wonder Woman apron to give to an amazing Wonder Woman I know.  But, even though I’m moving on to new designs, I’ll definitely keep using this pattern!  Click here for links to the free tutorial along with some of my own tweaks.  And, speaking of aprons, I’m taking a week off from work (and sewing! and crafting! and blogging!) and donning an apron to play hostess to our family while everyone gathers in to celebrate Dave’s milestone birthday.  The house is clean . . . the party and meals are planned . . . the decorations are made . . . the toys and crafts are ready. . . the cookie jar is full . . . I can’t wait!  See you next week! ♥

Last WW Apron

T-Shirt Garland Kit

Standard

TopWhen our whole family gathers in over Father’s Day weekend, I want to have some fun crafts that work for *kids* from pre- schoolers to 80+. My latest idea is a decoration that everyone helps create—T-shirt garland! To keep everything handy, I decided to make a kit with all the necessary materials. Then I can simply hang some baker’s twine across the windows and we can pin on our paper T-shirts as we “customize” them.

Box GluedTo make the kit, I first found an empty box that was just the right size. (This one once held a chocolate cake that came in an order one of our kids sent us from Omaha Steaks . . . yum!!!) I cut off the lid and then cut, folded, and glued the lid cardboard to divide the box into four compartments. Here it is with clips holding everything in place while it dried. When the inside was ready, I traced around the outsides and covered them with scrapbook paper, then made a simple word-processed label for the front using clip art and a text box.

Pins and ShirtsNext, I googled “printable t-shirt template” to find a pattern I like and watched a couple of movies while I traced and cut them out on light-colored paper. I also shopped for tiny clothespins and found these at Amazon.com. They’re REALLY tiny—about one inch long—but perfect for hanging paper items. I also found a small empty jar in the pantry to store them in since we’ll need to keep them safely away from the babies and toddlers. (I later glued three of the pins to the lid for a-la-mode.)

Finally, I added markers, crayons, and colored pencils for creating the T-shirt designs. Since I already had these and the paper on hand, my only expense was the clothespins—and they’re so cute I probably would have bought them anyway. 🙂 I’ll be sure to show you a photo of our garland after everyone is here!   P.S. I think this would be a fun way to commemorate family activities over the summer, too . . . books the kids read, trips to the beach and zoo, special treats they get to eat, and that sort of thing. If only I’d thought of that when MY kids were little! ♥

Kit

The Origami Owl Blogger Locket Winner Is . . .

Standard

PackagingThank you SO much to everyone for entering the Origami Owl Blogger Locket Giveaway and for all your lovely, encouraging comments. Seriously, every time a new one popped up, I said to myself, “Oh . . . I hope SHE wins!!!” But the time came to draw one name out of the hat, and the lucky winner is . . .

Jeanna of Drama Queen Seams!

Congratulations, Jeanna! As soon as you email me your mailing address, I’ll send your prize and Tiffany will send the extra charm you chose—the crystal clear crown. And for all of our other blogging friends . . . thank you again for your enthusiasm and support for small businesses, and feel free to contact Tiffany at thehootsuite@gmail.com, her Facebook page, or her web site if you have any questions about creating your own Living Locket or becoming an Origami Owl independent designer. You’re the best! ♥

Blogger Locket Giveaway (Hmmm . . . wish I could win this!)

Standard

OO

Locket
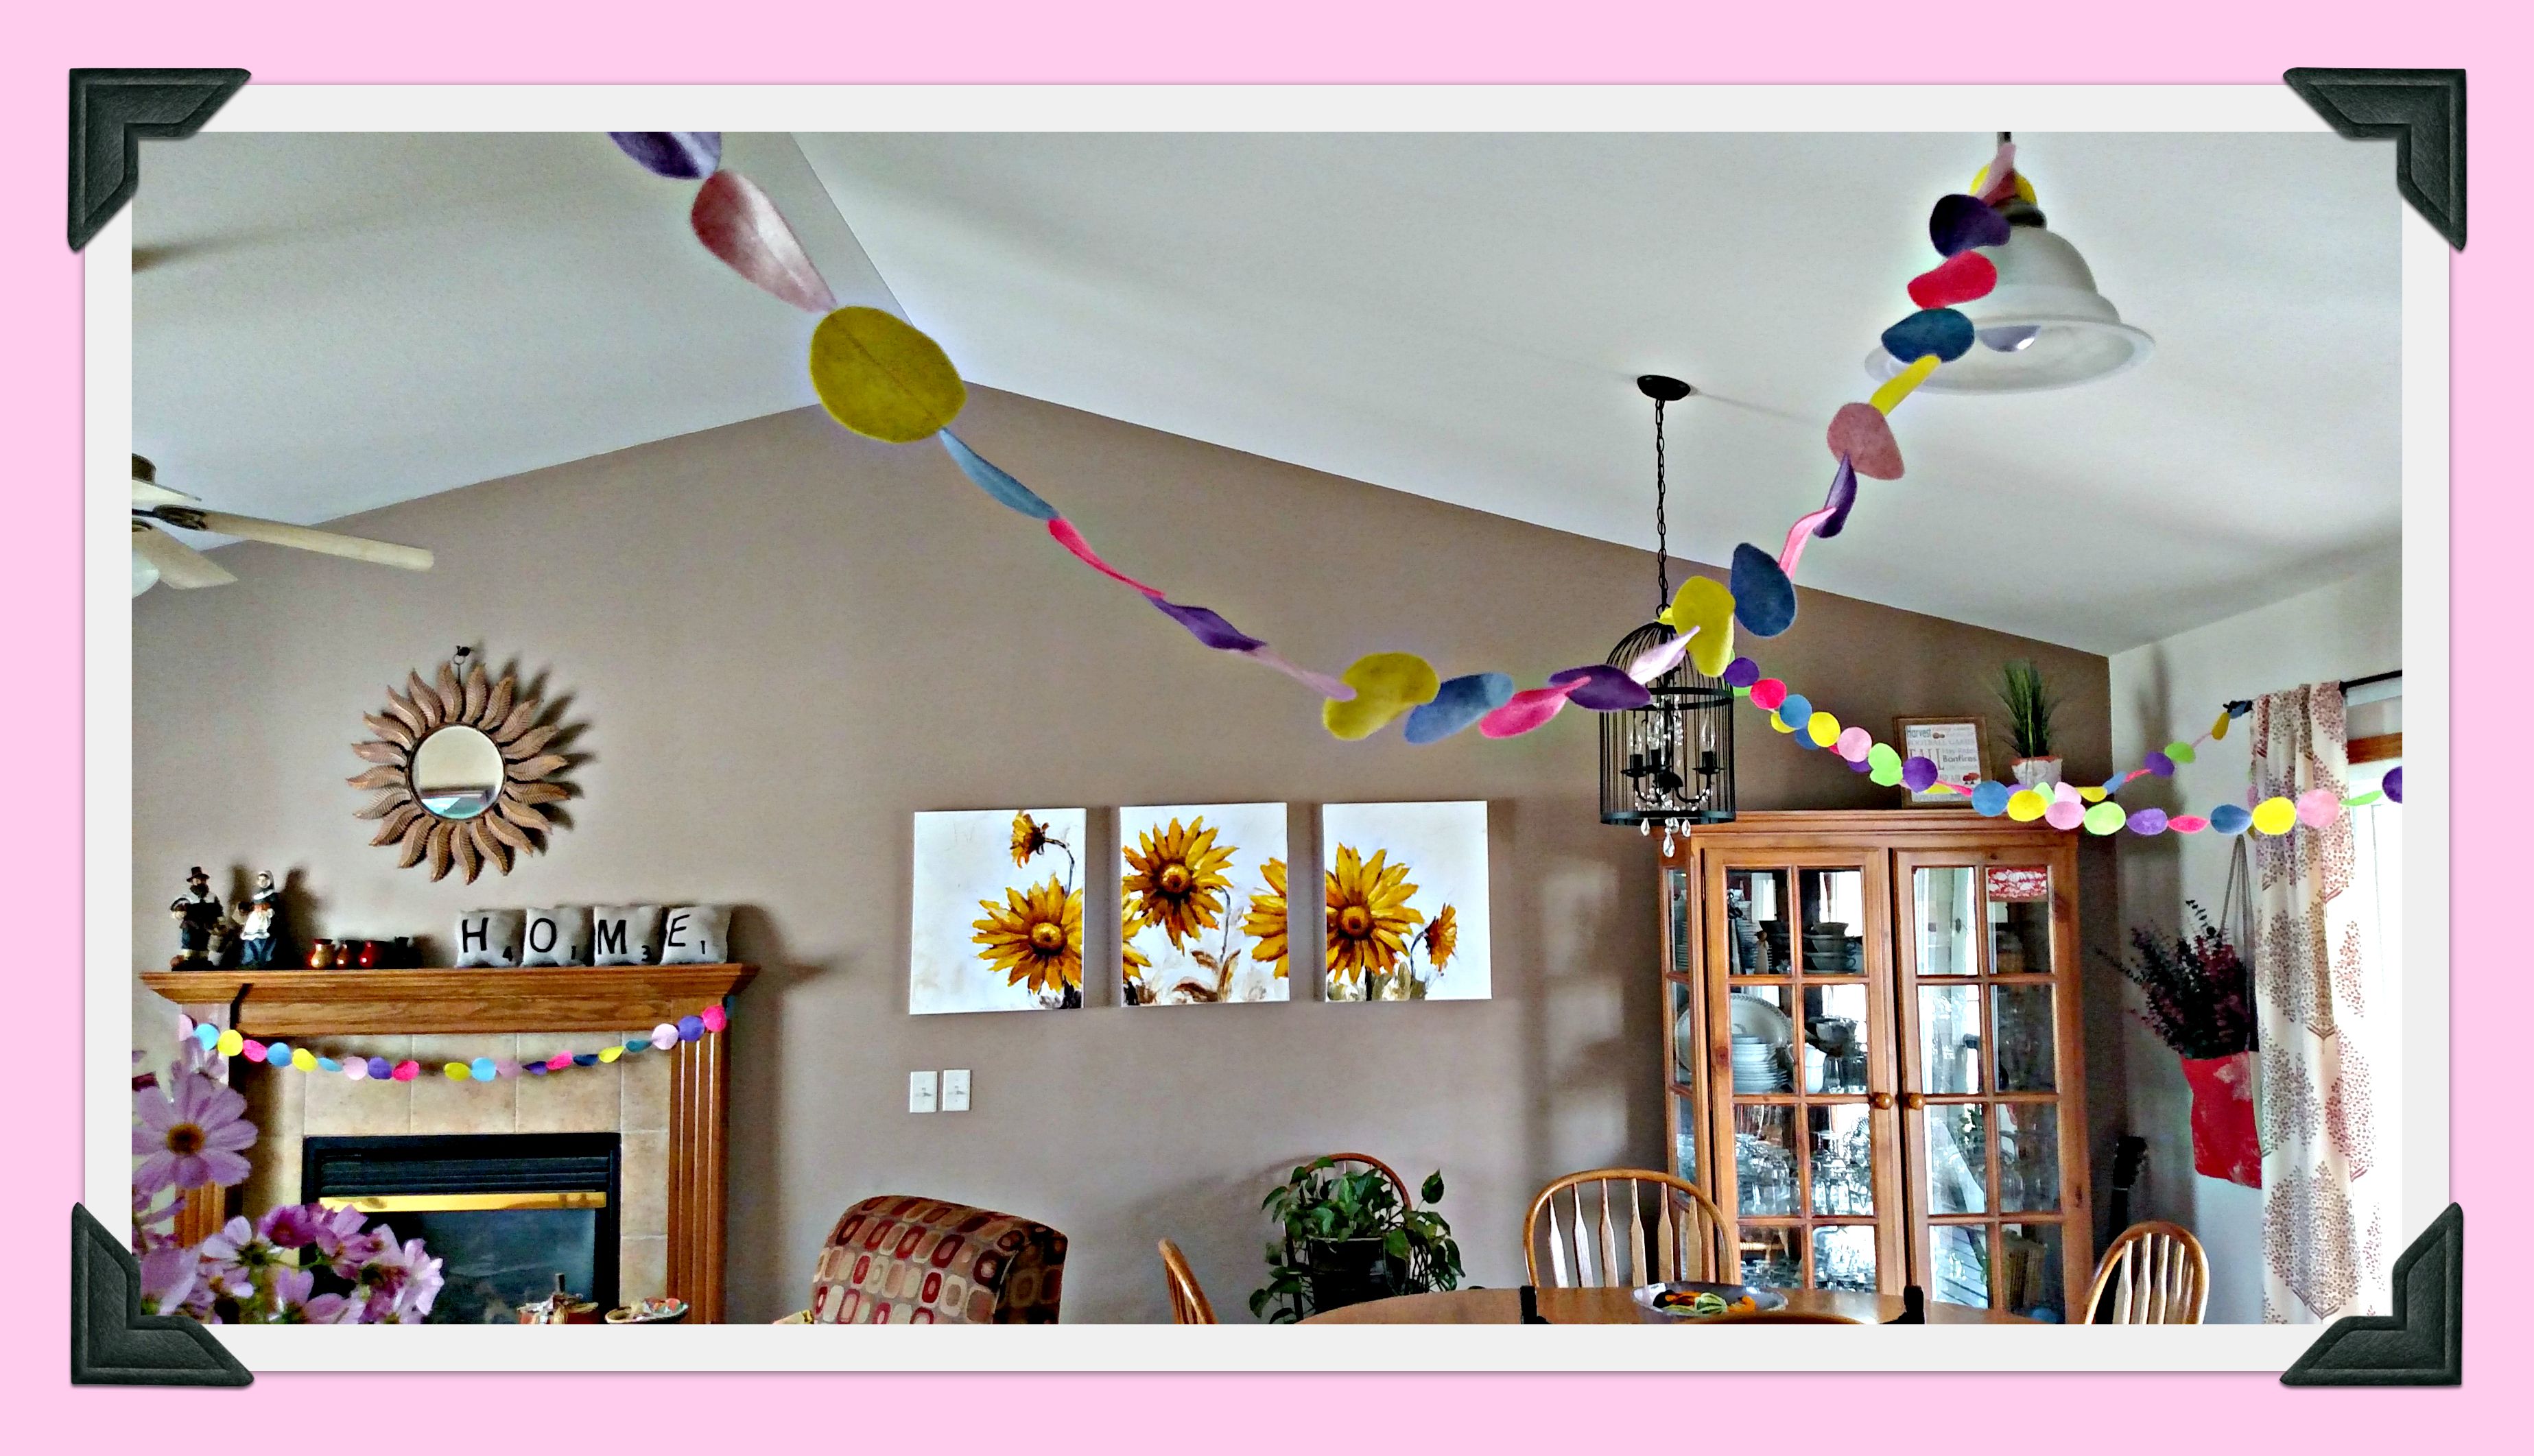
My lovely art teacher daughter-in-law Tiffany just became an independent designer for Origami Owl. Have you seen these amazing “Living Lockets” yet? You choose your locket size and design, fill it with hand-picked charms, and (if you like) add plates, dangles, and tags. Then you either purchase a chain or wear your creation on a chain or ribbon you already own. They’re absolutely beautiful! So Tiffany and I put our heads together and came up with a “blogger locket” giveaway that we think you’ll love! It includes:

  • the large silver Living Locket with crystals,
  • 5 charms: a laptop computer, a camera, a pair of scissors, a cup of coffee (or tea!), and the April stone,
  • an 18-inch silver ball station chain,
  • and an “Inspire” tag that can be worn either with the locket or separately.

You can see close-ups of all the components below!

Locket Collage

To enter this giveaway, you only have three easy steps to follow:

(1) “Like” Tiffany’s Origami Owl Facebook page here. (But if you’re not on FB, no worries! You can still enter by skipping to Step 2! :))

(2) Go to Tiffany’s Origami Owl web site and find your favorite charm here. (Click on “Charm Collections” on the “Living Lockets” page.)

(3) Leave a comment below telling us you’ve liked the FB page (see note on Step 1) and what your favorite charm is.

That’s it! A week from today (Monday, April 8) we’ll draw a name out of a hat and announce the winner right here at Pillows A-La-Mode. And not only does the winner get the blogger locket, but Tiffany will mail her the other charm she chose, too! So please join in the fun, and thank you for visiting Origami Owl today or anytime from my Shop Love! page above. ♥

P.S. I forgot to mention that Origami Owl’s packaging is amazing—a drawstring bag for the tag and a “fortune cookie” made of kimono fabric to keep your locket in, all delivered in a cute little take-out box! Oh, and Tiffany has also put together a Shutterfly book with design ideas. You can check it out here.

Packaging

Cupcake Girl

Standard

PatternA special little girl in our family celebrated her sixth birthday on December 1st. As you know, a December birthday gift must NOT be Christmasy! 🙂 So, since she absolutely loves to bake with her mom, I decided on a cupcake gift. First I made an apron using a remnant from the nursery pillows I sewed last summer that looks like sprinkles. I didn’t have a child-size pattern, so I just cut a rectangle for the front, a long, skinny piece for the waistband and tie, found some rick-rack trim, and stitched it up. Then I folded a piece of paper, sketched half of a cupcake paper and top, cut them out, unfolded the paper, and used these as patterns for some cupcake a-la-mode (two yellow fabrics and sequins for sprinkles) and a scrapbook paper gift tag. Then I bought some cake mix, frosting (with sprinkles!), cupcake papers, and cupcake flags to go with the apron. I was going to make a little totebag to gift it in, but then I spotted this adorable tin for $2.99 in my grocery store’s clearance aisle . . . how lucky is that! Happy birthday, dear Kira! ♥  P.S. Please check out this fun post on Peg’s Gotta Do for more cupcake inspiration!

Collage

Class Reunion Garland

Standard

In my spare moments this week, I’ve been standing at the kitchen island turning the scrapbook paper circles I cut out on our recent road trip into garland for my class reunion this weekend. The first string I made was plain blue and gold, but I decided to have fun with this one and add some designs. Oh, and I also found some pretty blue and gold fabrics for the tables. It seems like only yesterday that we were wearing these colors for our high school activities! But I love “now” WAY more, don’t you? ♥

More Vintage Treasures!

Standard

Thank you for all the WONDERFUL ideas I’ve received so far for my vintage bow ties! With a super-busy week ahead (in a good way! :)) sewing isn’t on the agenda, but as soon as I get back to my machine I’ll be trying them out!  In the meantime, I thought I’d share the other goodies Dad gave me this weekend. My mom won these ribbons for her paintings at county and state fair competitions . . . she was so amazing! I have a bunch of these stashed away from my 4-H days, too. I also have a class reunion coming up during fair weekend in August, and I offered to make the decorations, and wouldn’t the ribbons make a festive bunting??? My other newest treasures include  (1) a “VOTE!” necktie from a 1972 election, (2) some hand-embroidered and crocheted linens, (3) a hand-sewn and crocheted baby dress, cap, sweater, and booties, and (4) a colorful nylon kite that no longer flies. I’m going to have so much fun with these! And if you have suggestions for projects for any of them, please feel free to share here, too. I never cease to be amazed at all the creativity out there! ♥

Citrus Coasters

Standard

I was browsing the department store ads in the Sunday paper a couple of weeks ago when I was captivated by a lovely display of summery picnic dinnerware. When I saw coasters that looked like slices of oranges, lemons, and limes, my little DIY fairy said, “You should make some of those!” So off I went to the fabric store where, serendipitously, I spotted a lovely orange, lemon, and lime print on my way to purchase the felt I’d need. How fun is that!!! 🙂

Here’s how I made the coasters:

  • Cut out three sizes of circles. The smallest and largest are from colored felt, and the middle is white. (I used the bottom of a yogurt carton, my trusty peanut butter lid, and a random lid from my container drawer for templates.)
  • Handstitch the small circle onto the white circle using matching embroidery floss.
  • With white embroidery floss, stitch three criss-crossing lines across the colored circle.
  • Glue the now-attached pieces to the larger circle to cover up the stitches, and trim all the way around with pinking shears.

For a gift, make four of each and tie them together with a pretty orange, yellow, or green ribbon. Or, if you’re lucky enough to find some fabulous fruity fabric, you can make a simple little drawstring bag to gift them in. They’re so fun, easy, and colorful . . . you’ll love making your own! ♥

Citrus Collage

Birthday Card Garland

Standard

I’ve been trying to think of a fun way to display greeting cards rather than taping them to the frig (HO-HUM!).  Seeing LOTS of garland (a.k.a. bunting) on Pinterest gave me an idea for our fireplace mantel.  It was super-easy! I used some of the scrapbook paper from my mini-notebook project and the peanut butter lid from my road trip flowers project to cut out circles.  I then folded them in half, unfolded them, dabbed them with a glue stick, and folded them back over some twine. I love how festive and colorful Dave’s birthday cards look now . . . I think I’ll leave them up for awhile! ♥


Candy Legos

Standard

My lovely daughters-in-law never cease to amaze me with their talents and creativity, including birthday party planning. I couldn’t resist posting these candy Legos that Tiffany made. They looked so real that the children at the party studied them, gently licked them, and then finally nibbled the corners before digging in.  So cute! ♥