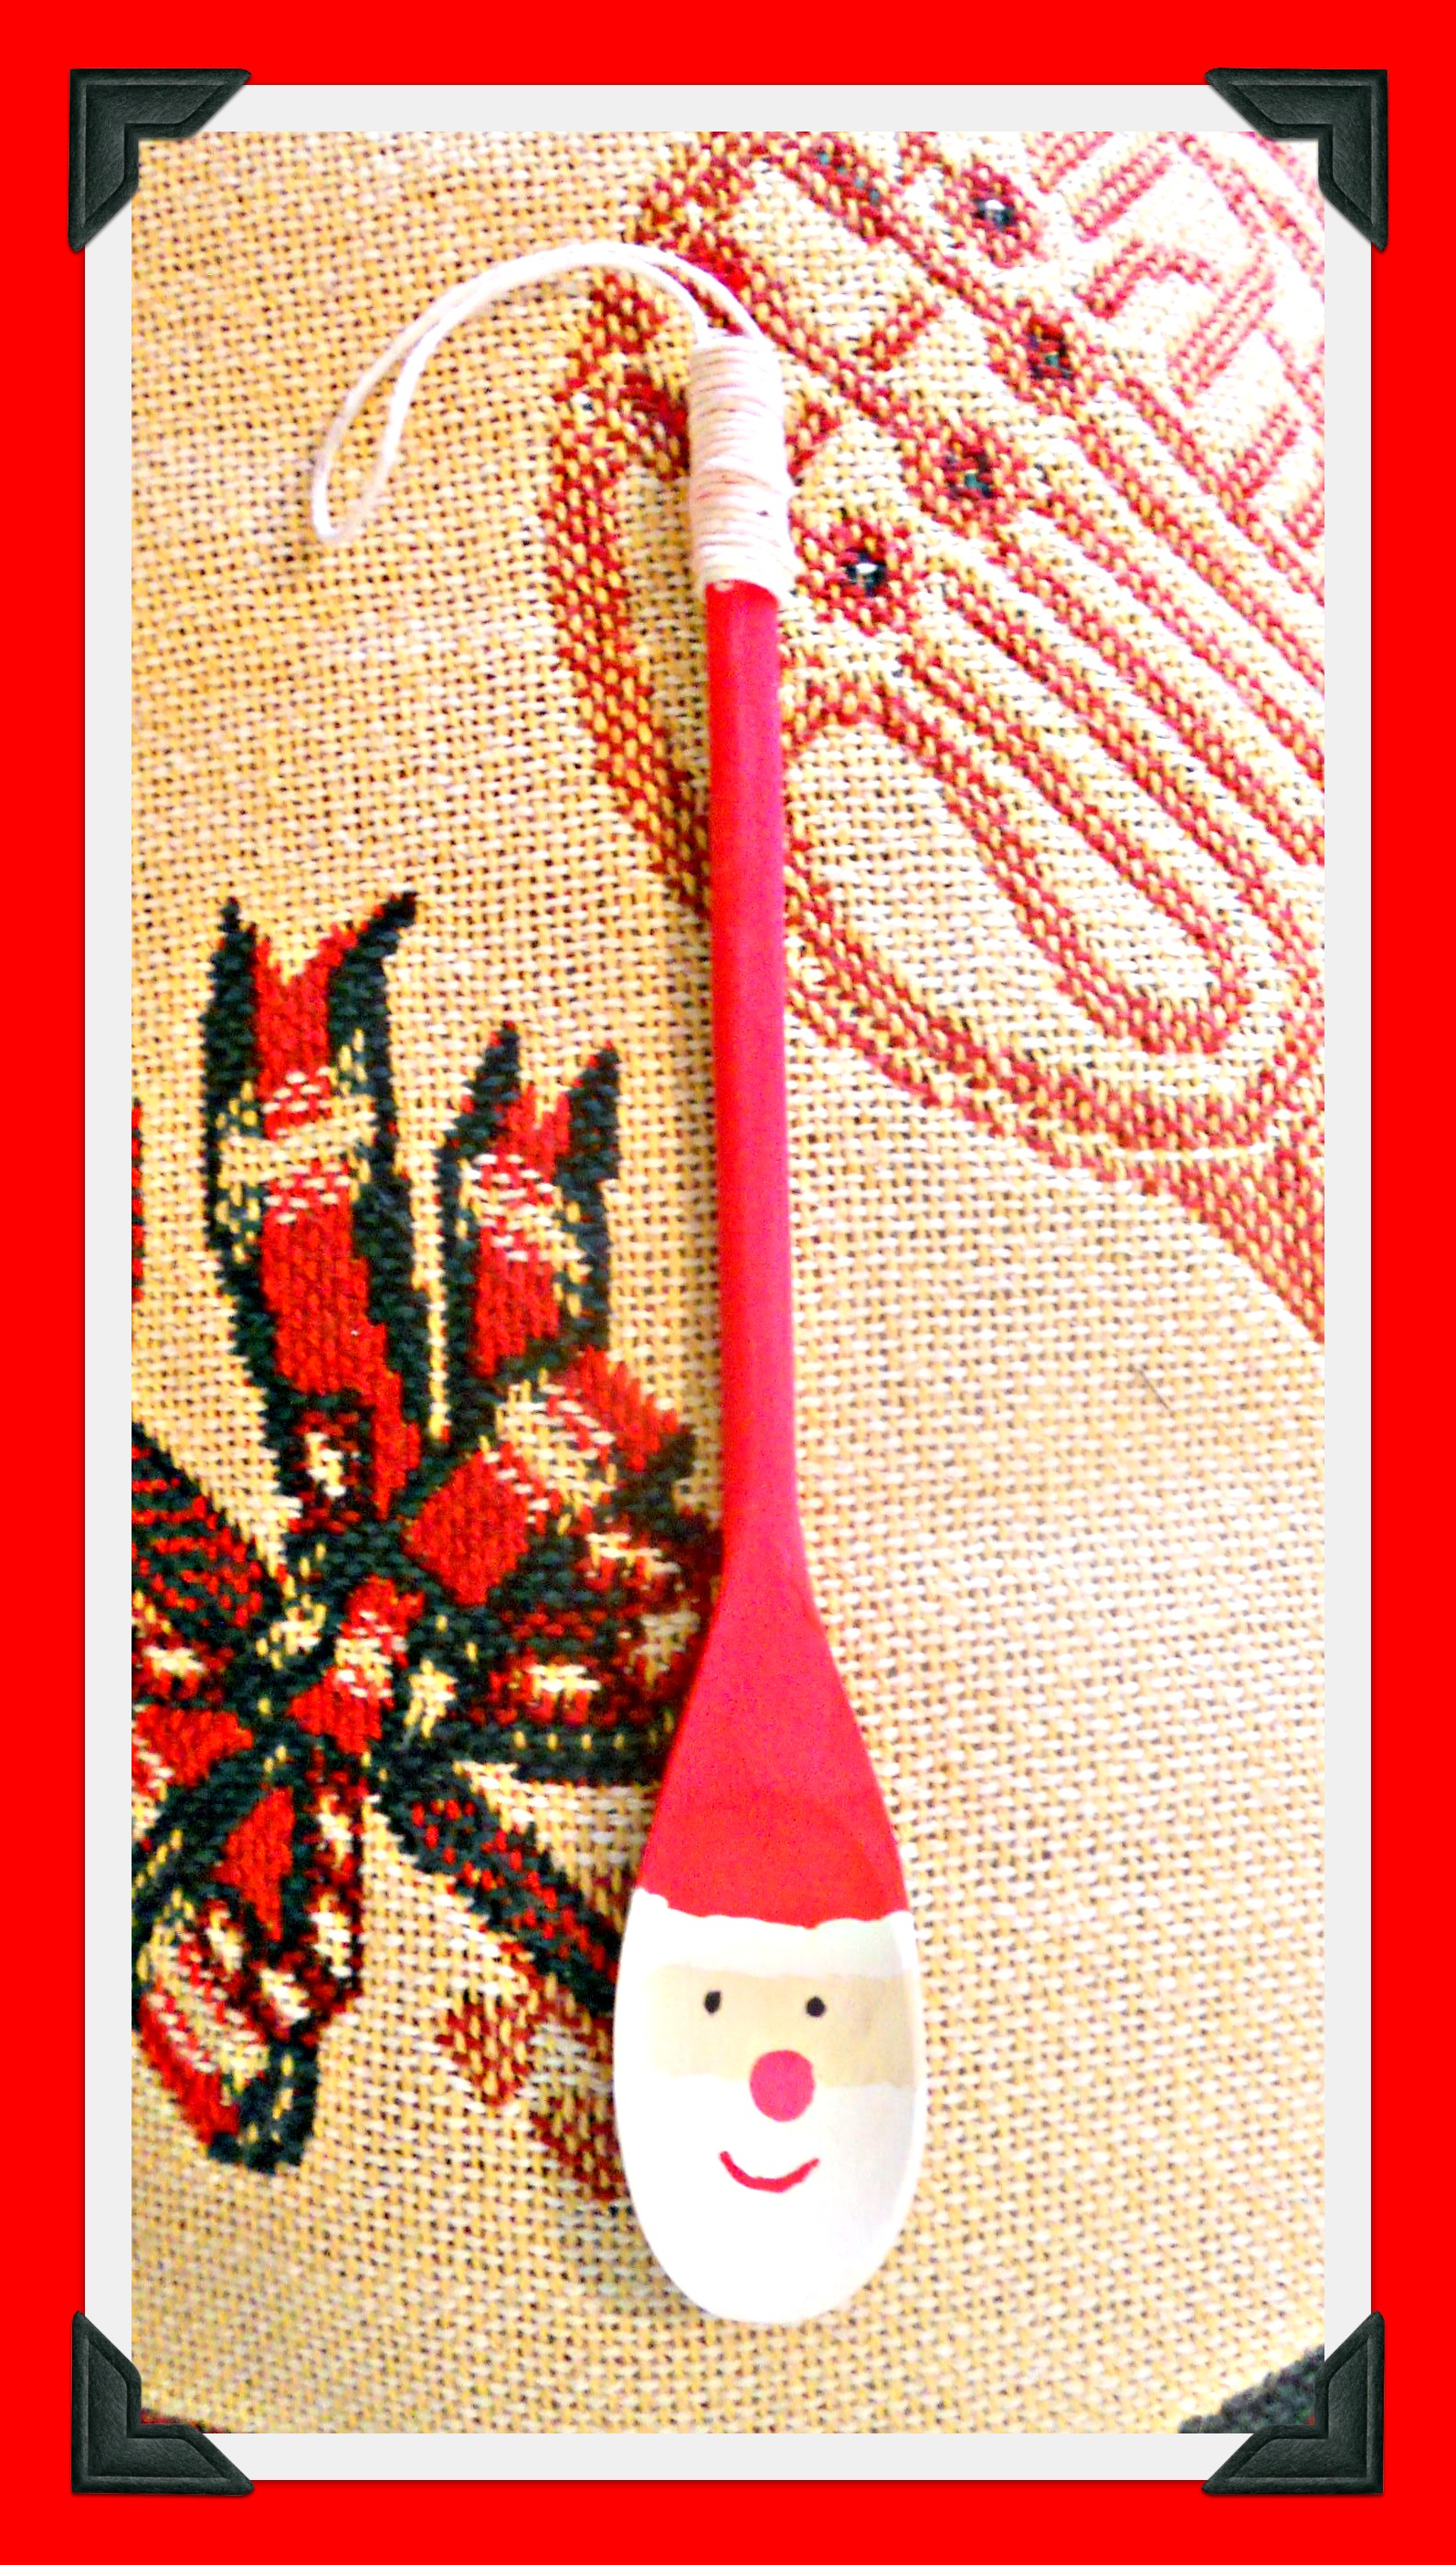
 What do you get when you combine a Saturday morning, 8- and 10-year-old granddaughters, a roll of twine, red and white Tempera paint, and a package of dollar store wooden spoons? Sixteen Santas for teachers and friends on the girlies’ gift lists! You’ll find directions on Real Simple, and here are some other crafty ideas from Christmases past:
- Fabric Forest
- J-O-Y
- Peppermint Wreath
- Deck the Walls
- All-Holiday Frame
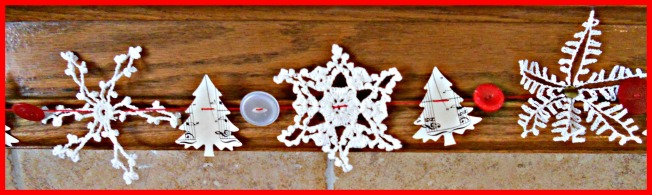
- Christmas Bunting
- Christmas Argyle Pillow
- Felt Wreath Pillow
- Mini-Pillow Ornaments
My blog has been on the back burner since summer, but I think of you often . . . sending love and best wishes for a joyous Christmas season to you and yours!